


To secure scaffolding on an active jobsite, control who can reach it, anchor and stage components deliberately, record equipment movement, and inspect the work area at every shift change.
Discuss a jobsite security plan
What should a scaffolding security plan protect?
A scaffolding security plan should protect both the assembled structure and the components that crews store nearby. Set rules for access, staging, movement, and end-of-shift checks; then assign a person to verify each rule. Treat theft deterrence as one part of a larger site plan, not a substitute for safe assembly, inspection, or required fall protection.
Scaffolding presents more than one security challenge. A complete frame can attract attention, but loose frames, braces, planks, wheels, ladders, and specialty pieces may also be easy to remove in small quantities. Materials left beside an accessible boundary create opportunities for opportunistic removal. A plan must address what remains assembled and what crews store between tasks.
Start with three practical outcomes:
- Limit unsupervised access. Define the permitted work area and keep entry points visible to the team.
- Reduce easy removal. Stage components in a designated area and use physical barriers or approved site equipment to restrict access.
- Spot changes quickly. Track the expected quantity and location of major components, then compare the record during routine checks.
These controls deter casual interference and make discrepancies easier to identify. They do not guarantee that theft will not occur. Choose controls that fit the site layout, work schedule, equipment, and local safety procedures.
How do you assess the site before staging scaffold equipment?
Before crews unload, walk the full perimeter and identify where people, vehicles, deliveries, and stored materials move. Mark the planned staging zone, note areas with poor visibility, and decide how supervisors will check the site after hours. A short written site map gives each crew a shared reference and prevents equipment from spreading into convenient but exposed locations.
Inspect the site from the perspective of someone who does not belong there. Look for open approaches, gaps in temporary barriers, hidden corners, nearby public paths, and places where a vehicle could stop close to components. Note lighting and sightlines without assuming that cameras or lighting alone will deter removal. If the site shares space with other tenants or contractors, identify who controls each boundary.
Then classify the equipment. List assembled sections, loose frames, braces, planks, access components, wheels, and any tools that crews leave in the work zone. Record a quantity and location for each category. For high-value or specialized pieces, add a durable identifier or mark approved by the equipment owner. Keep the inventory usable; an accurate one-page list is better than an elaborate record that crews ignore.
Use a simple site assessment table to turn observations into actions:
| Site condition | Exposure to address | Practical response | Who verifies it |
|---|---|---|---|
| Staging area beside a public approach | People can reach loose components without entering the main work zone | Move the staging area inward or add an approved barrier and visible boundary | Site supervisor at setup and close |
| Several trades share the work area | Responsibility for equipment movement is unclear | Assign a named custodian for the scaffold inventory and communicate the rule to trade leads | Lead contractor at each shift change |
| Components are scattered across the site | Missing parts may go unnoticed | Group materials in a marked zone and maintain a count by component type | Equipment custodian during daily checks |
| Work pauses overnight or over a weekend | Temporary controls may be removed or left incomplete | Use a written closeout checklist and confirm barriers, staging, and access points | Closing supervisor before departure |
| Delivery or pickup is expected | Unverified removal may appear routine | Check the release instruction, carrier, item count, and receiving party before equipment leaves | Authorized person at dispatch |
Do not place a barrier, cable, or other security device where it creates a trip, fall, access, or emergency-egress hazard. The competent person or responsible safety lead should approve site arrangements. OSHA publishes workplace safety information, including scaffolding requirements; consult the agency and the applicable rules for the work being performed at OSHA.
How should you control access without disrupting the crew?
Access control works when it distinguishes authorized work from casual entry without slowing every task. Establish a defined route to the scaffold, communicate who may enter, and give crews a clear way to request access. Keep the route consistent across shifts. When workers have to improvise around a barrier, they may move it or leave it open, undermining the intended control.
Use site controls that match the layout. A temporary fence or barrier can mark a boundary, while a staffed entry point may suit a busy site with frequent deliveries. Where the project has a site office or gate procedure, add the scaffold area to that routine. Do not treat signage as a physical barrier. Signs tell people what the rule is; they do not prevent access by themselves.
Assign ownership. Name a supervisor or equipment custodian who checks the boundary, answers access questions, and reports problems. Tell subcontractor leads which components require permission to move and where they should return unused materials. Keep the process simple enough for a new crew member to follow at the start of a shift.
Separate ordinary work access from equipment release. A worker may need to use the scaffold, but that does not automatically authorize removing a frame or a stack of planks from the property. Define who can approve a transfer, how to document the approval, and what information a driver must provide. A written release note should identify the equipment, destination, carrier, and responsible contact. Check the details before loading rather than relying on an unfamiliar verbal request.
For multi-contractor projects, make this part of the kickoff. Share the access map, contact list, and equipment responsibility with each trade lead. Ask every lead to brief their team. When the schedule or work zone changes, update the map and tell the next shift. Clear communication reduces confusion that can look like a security failure or create one.
Where should you stage frames, braces, and loose components?
Choose one controlled staging area that crews can reach easily but passersby cannot access casually. Keep it within the active work boundary, away from public routes and vehicle approaches, and visible from a routinely occupied position where practical. Group similar components, maintain stable stacks, and leave required clearance for safe handling and emergency movement.
Convenience matters. If the designated zone sits too far from the work, crews may create smaller informal piles near each task. Those piles are harder to count and easier to overlook. Place the main zone near the work sequence while preserving safe paths, material-handling space, and any clearance required by the site safety plan.
Sort equipment by type and condition. Keep serviceable pieces separate from damaged or quarantined components, and do not mix another contractor's materials into the site inventory. Use a simple tag, paint mark, or written identifier only when the equipment owner authorizes it and the method does not conceal inspection information or compromise the component. Record where specialty items sit so the next shift can find them promptly.
Keep stacks stable and within the limits set by the manufacturer and the site's handling rules. Do not use a theft deterrent as a substitute for proper storage or an approved tie-down. Any restraint must fit the load and the environment. It should not bend a component, create a sharp hazard, interfere with inspection, or require unsafe climbing to remove.
When the project has little secure storage, ask the site manager or rental provider to agree on a documented overnight arrangement before equipment arrives. Options may include moving components to a controlled area, returning unused pieces, or using a designated secure enclosure. The right choice depends on ownership, site rules, transport availability, and safe handling. Avoid leaving an informal pile at the boundary simply because the workday ended unexpectedly.
Review the rental and construction equipment range when assessing purpose-built physical security for an equipment environment. Match any product to the actual component, attachment point, and use case; a product page or category listing does not replace a fit check.
What physical controls make removal harder?
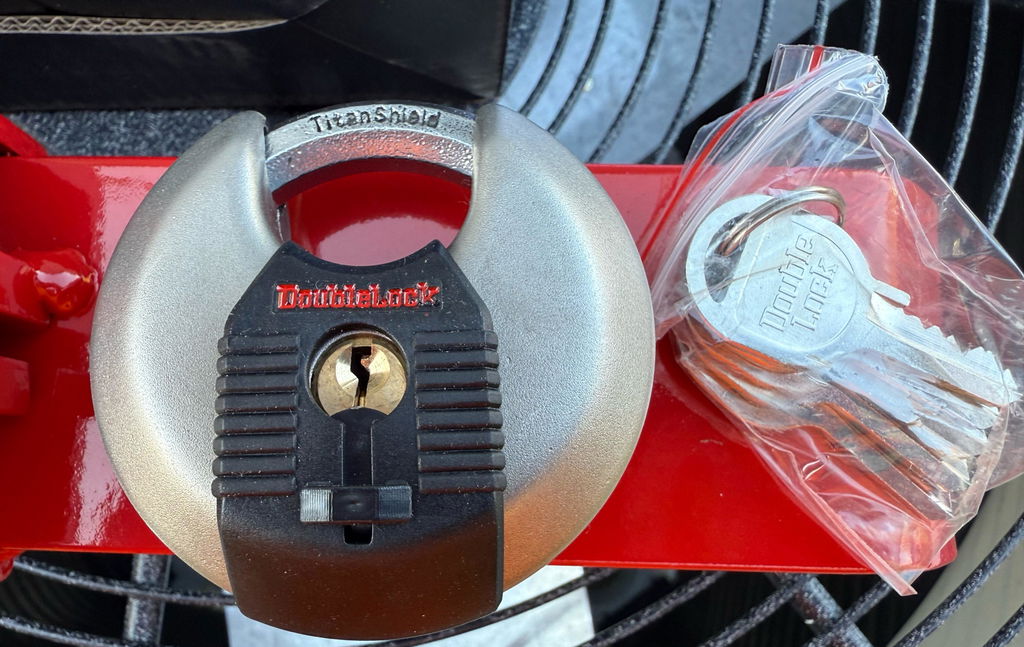
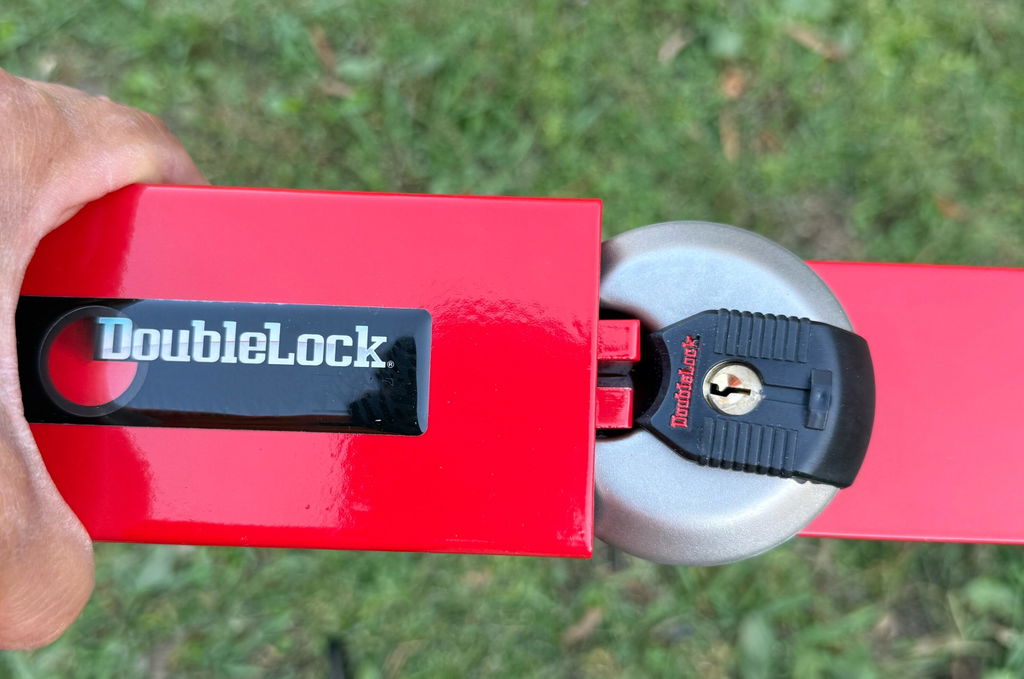
Use a layered approach: restrict access to the zone, secure or consolidate loose equipment using suitable site hardware, and keep records that reveal unauthorized movement. A physical device must fit the exact item and attachment point. Confirm that it can be installed and removed by authorized staff without damaging equipment or creating a new safety hazard.
First, distinguish the target. A barrier protects an area; a device fitted to equipment may help deter removal of a specific item; an inventory process helps identify a loss. Those measures serve different purposes. A chain or cable may suit some equipment configurations, but it is not appropriate for every scaffold part. Select by examining material, geometry, exposure, and the manufacturer's instructions.
When reviewing a physical control, check the following:
- Fit: Does the device attach to a strong, accessible point without interfering with inspection or normal use?
- Resistance: Does its construction suit the equipment and the anticipated handling conditions?
- Exposure: Will rain, dust, mud, or repeated handling affect placement or operation?
- Accountability: Can the team identify who controls the device and how authorized access works?
- Safety: Can crews install and remove it from a safe position, without creating an obstruction or fall hazard?
Do not choose a device solely because it looks substantial. Confirm the intended application and dimensions with the manufacturer or supplier. If the fit is uncertain, use another site control until a responsible person verifies the arrangement. No physical security device is undefeatable, and a product cannot compensate for an exposed location, untracked inventory, or weak access procedures.
For contractors comparing site-specific equipment options, the rental equipment information provides a relevant starting point. Ask the equipment owner or supplier to verify compatibility before applying a device to a scaffold component. Keep installation instructions with the equipment custodian's checklist so each shift uses the same method.
Explore equipment security options
How can a crew make inventory checks part of the workday?
Make inventory checks brief, repeatable, and tied to existing handoffs. At the beginning of a shift, compare the staging area with the expected component count. During work, record any approved movement. At close, confirm that the crew returned loose pieces to their zone and that no equipment left the site without authorization. A routine takes hold when workers know when to perform it and where to record exceptions.
Use a basic movement log with the date, component type, quantity, person authorizing the movement, destination, and expected return or delivery time. The person releasing equipment should verify the recipient. If teams use a digital job record, place the information where the next shift will see it rather than creating a separate system that no one checks.
Keep the inventory proportional to the operation. A small job may need a short checklist and a clear equipment custodian. A larger project with multiple work fronts may need a separate count by zone and a daily reconciliation. Use consistent labels for components and locations. Avoid vague notes such as “some braces moved”; record what moved, how many, where it went, and who approved the change.
Investigate discrepancies promptly. First check whether a crew moved or returned equipment without updating the log. Ask the trade leads and review delivery or pickup records. If the team cannot account for an item, notify the site lead and equipment owner, preserve relevant records, and follow the project's incident-reporting process. A same-day response narrows the timeline and can reveal a process gap before it repeats.
Keep records limited to the information the project needs. Share access to the movement log with responsible leads, and update it when staffing changes. Do not post sensitive details about after-hours arrangements where an unauthorized visitor could read them.
What should the end-of-shift and weekend routine include?
A closeout routine should leave the site in a known condition, not merely tell the last worker to “check the scaffold.” Assign a person to complete each check and record any exception. Include assembled areas, loose parts, access routes, boundary controls, and planned deliveries. For weekends or long pauses, repeat the process before the last crew leaves and identify who will respond if conditions change.
A practical checklist can include:
- Count loose frames, braces, planks, wheels, and other tracked components against the daily record.
- Return movable pieces to the approved staging zone and confirm stable, safe placement.
- Inspect the perimeter and access points for gaps, shifted barriers, or equipment left outside the designated area.
- Verify that any approved physical control remains correctly fitted and does not obstruct a safe route.
- Confirm scheduled deliveries, pickups, and transfers with the authorized contact.
- Record exceptions and notify the named supervisor before leaving the site.
- At the next opening, repeat a brief condition check before crews resume work.
For a planned pause, decide whether the assembled scaffold stays in place or whether some components should move to controlled storage. Follow the project safety plan and the equipment owner's instructions. Do not alter, dismantle, or restrain an assembled structure just to address theft exposure unless the responsible safety lead approves the method.
For multi-day closures, confirm who will visit the site, who may authorize entry, and how workers will report a damaged boundary or missing equipment. Share only the information needed with the designated contacts. If the site has a general closing checklist, add the scaffold inventory and access checks instead of creating a competing process.
Request guidance for a commercial equipment need
How should you compare security options for a scaffolding site?
Compare options by the weakness each one addresses, how it fits the site, and who will maintain it. A boundary measure does not replace an equipment control; a device for one component does not secure a whole work zone. Choose the smallest workable set of controls that crews can follow consistently, then review it whenever the site footprint or schedule changes.
The table below summarizes common approaches without treating any single measure as a complete solution. Confirm fit, safety, ownership, and site approval before use.
| Approach | Best suited to | What it does not solve alone | Routine to assign |
|---|---|---|---|
| Defined perimeter and access route | Limiting casual entry to the work and staging areas | Does not track individual parts or verify authorized equipment release | Check boundary at opening and close |
| Central component staging | Keeping loose parts visible, grouped, and countable | Does not prevent access if the zone remains open | Reconcile count by component type |
| Suitable physical equipment control | Deterring removal of a specific compatible item | Does not protect the entire site or guarantee against theft | Inspect fit and condition during shift handoff |
| Movement log and release approval | Making transfers and deliveries accountable | Does not physically restrict access | Record each authorized movement |
| Closeout checklist | Maintaining consistent end-of-day and weekend routines | Does not make an unsafe arrangement acceptable | Name the closer and verify exceptions |
Choose based on the site's real conditions rather than buying equipment first and looking for a use afterward. If the work zone changes, the controls should change too. A moved fence, a new delivery gate, or a longer shutdown may require a revised staging area, added checks, or a different person responsible for release approval.
What common mistakes weaken jobsite scaffolding security?
Most weak plans fail at handoffs. A crew leaves materials where the next shift cannot account for them, a temporary barrier stays open after a delivery, or several contractors assume that someone else owns the inventory. Correct these gaps with named responsibility, repeatable checks, and a single source of truth for equipment movement.
- Relying on a sign alone. A warning communicates a rule but does not control access. Pair it with a practical boundary and a person responsible for checking it.
- Scattering components. Multiple informal storage piles make it difficult to notice a missing item. Use one agreed staging zone or maintain a clear count by work area.
- Leaving release approval vague. If anyone can authorize a pickup, the team cannot distinguish a planned transfer from an unexplained removal. Name who can approve it and document the decision.
- Choosing hardware without a fit check. An unsuitable device may not attach correctly or may interfere with safe use. Verify the application before installation.
- Ignoring shift handoffs. A checklist that no one reviews does not create accountability. Have the outgoing and incoming leads confirm changes together.
- Overlooking routine safety needs. A deterrent that blocks an exit or creates a trip hazard undermines the site plan. Ask the responsible safety lead to review the arrangement.
- Assuming one measure is enough. A boundary, inventory, and physical control address different weaknesses. Combine measures according to the site's exposure and operating needs.
Review the plan after a loss, near miss, schedule change, boundary move, or change in subcontractors. Ask what happened, which step failed, and who will change the process. Do not respond by adding a complicated procedure without confirming that crews can carry it out every shift.
How to secure scaffolding: frequently asked questions
Secure scaffolding through clear access rules, controlled component staging, compatible physical deterrents, and consistent inventory checks. Assign one accountable person per shift, document equipment movement, and confirm that every measure fits the site's safety plan. Reassess the arrangement when work zones, schedules, contractors, or storage conditions change.
Can a fence alone secure scaffold equipment?
A fence can mark a boundary and make casual access more difficult, but it does not account for equipment movement or guarantee protection. Keep the boundary in good condition, place components inside the controlled area, and combine the perimeter with an inventory and authorized release process.
Should crews secure every scaffold component separately?
Not necessarily. First identify which components are exposed, valuable, or easy to move, then choose controls that fit their design and the site. Keep the rest organized in a defined staging zone and include all tracked parts in the daily count. Never attach a device in a way that damages a component or creates a safety hazard.
Who should be responsible for the equipment count?
Name a site supervisor or equipment custodian for each shift. That person should confirm the opening count, record approved transfers, and complete the closeout check. Trade leads should tell their crews how to request access or move items, but one designated person should maintain the shared record.
What should a contractor do if a component is missing?
Check the movement log, ask trade leads about recent work, and verify whether a delivery or transfer occurred. Notify the site lead and equipment owner if the team cannot account for the part, then follow the project's incident procedure. Record the time, location, item, and steps taken so the team can address both the loss and its cause.
Does a physical deterrent guarantee that scaffolding will not be taken?
No. Any physical deterrent can be defeated, and it cannot replace site supervision, good storage, or accurate records. Use suitable equipment as one layer in a broader plan, keep the work area safe, and review the plan as conditions change.
For broader commercial equipment planning, review the commercial equipment selection and wholesale options, then verify product fit and application with the supplier. A consistent, safety-conscious routine gives crews a practical way to deter removal and identify problems quickly.